I have wanted to make a sign for a L-O-N-G time. I've tried, but was never happy with the end result. I'm critical of my own work - especially anything free-hand!
(Our new "vintage" sign!)
I would read tutorials, but they often wouldn't make sense to me... or sometimes I'd stop reading when they mentioned a special gadget or tool we didn't own.
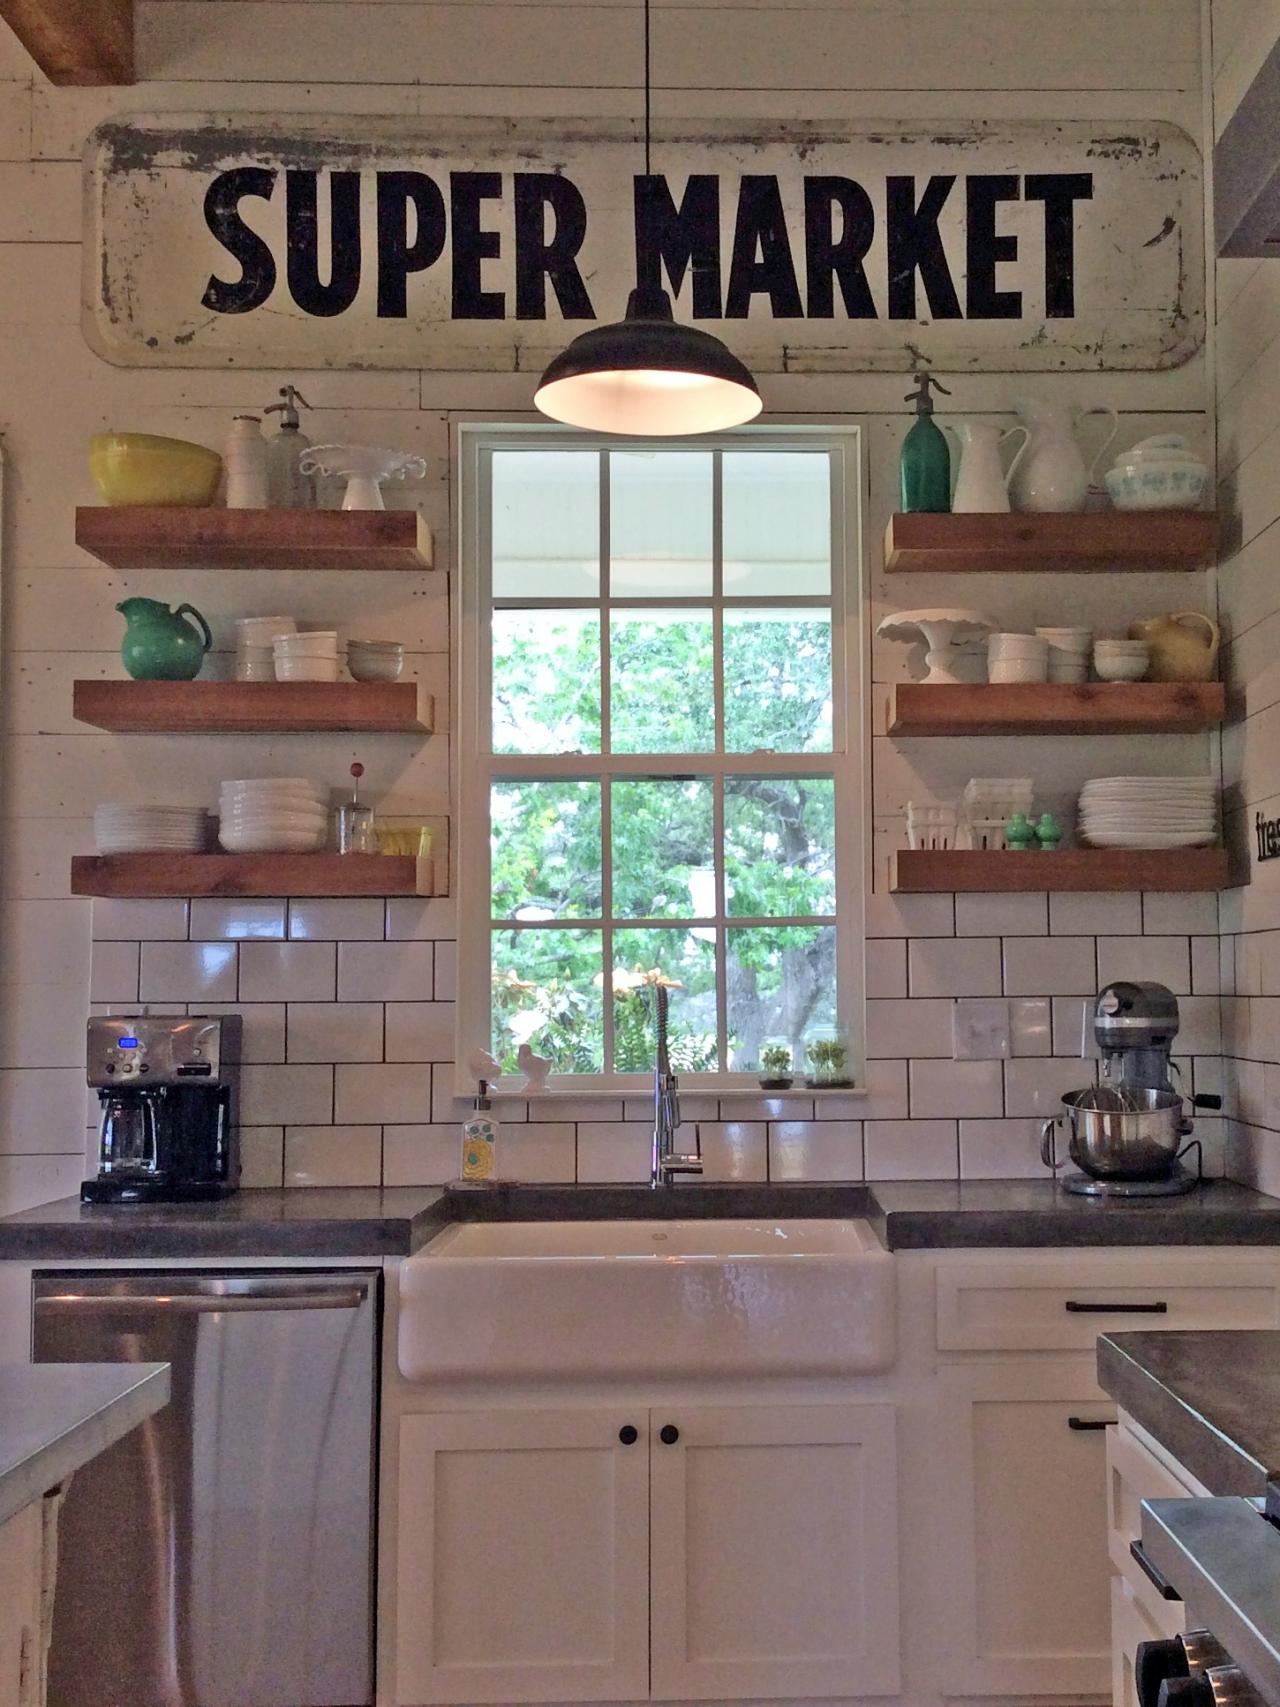
After watching the latest episode of Fixer Upper, I was more determined than ever to make a sign for our kitchen! On this particular show, they featured a rustic "Farmhouse" sign above the kitchen window.
I'm also in love with the old "Super Market" sign in the kitchen at the Gaines' home.
You too? Let's get started making a sign!
Let me start by saying that this would be a great project to give yourself a weekend to finish. That way, you can break it down into steps, allow for dry-time, and take some pressure off yourself!
There are many steps, but I promise you it is not hard...
1. Decide on what you want your sign to say. I loved the "Super Market" sign above, but wanted to add my own little twist. I saw a picture online of an old sign that read, "Au Petit Marche" in French and means, "Little Market." Perfect for the kitchen! Done.
2. You'll need to determine what size board to use. I used a thin (~1/2" thick) 1x6 (that's one foot by six feet :) board from Home Depot. It was actually a few inches less than six feet - they gave it to us for free when we purchased a 1x1x6. (The nice thing about using the 1/2" thick board, as opposed to the 1" thick board, is that it is lighter and easier to hang.)
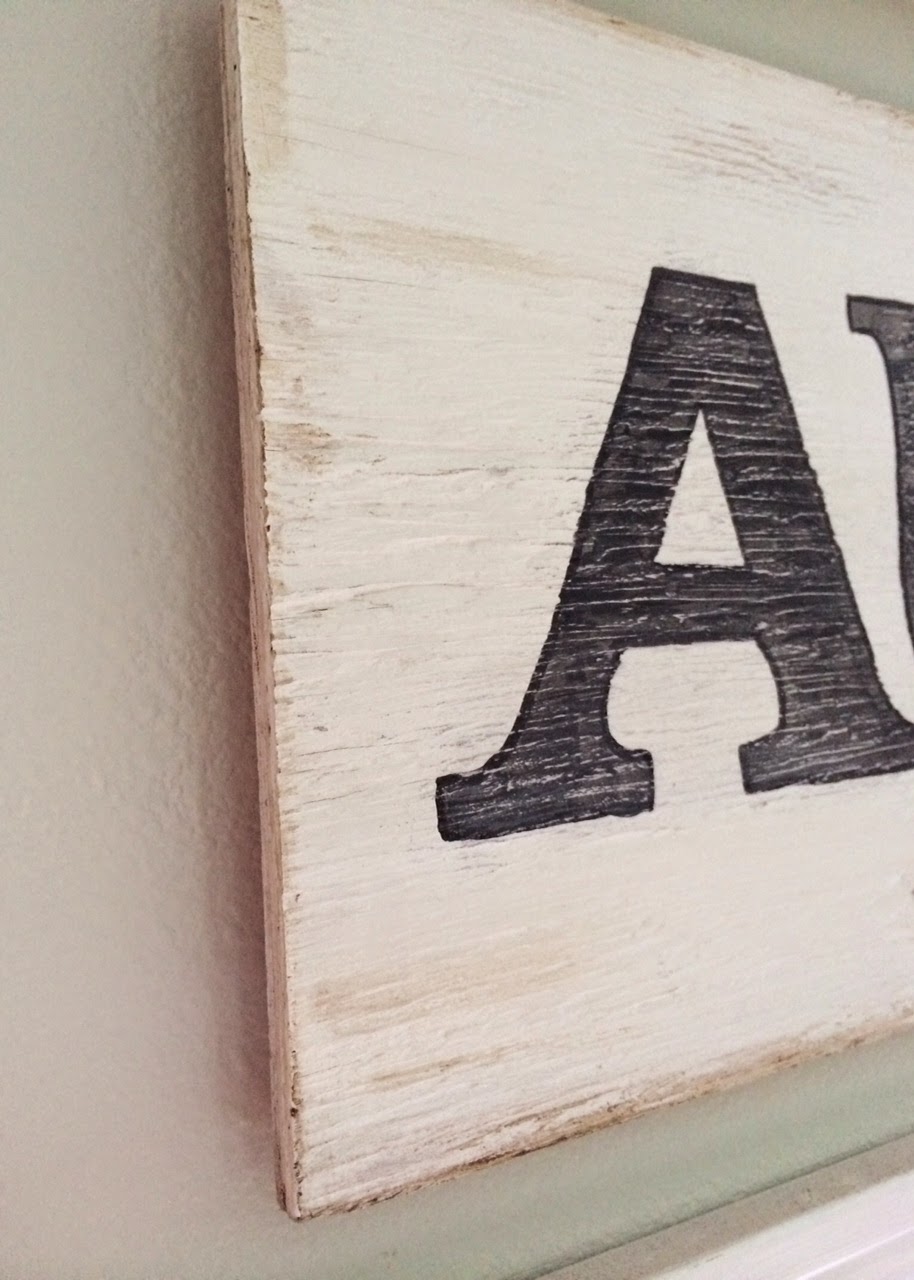
3. Prepare your board by painting or staining it the color of your choice. I painted ours white and then "aged" it, using Annie Sloan dark wax around the edges. The picture below shows how the dark wax helps give the sign a feeling of age...
4. Determine the font you'd like to use and print it out on regular computer paper. Don't use a heavy paper like card stock - you'll need to see through the paper to trace! For my sign, I wanted it to look like a vintage french sign, so I chose "Iowan Old Style Black" in MS Word. I used font size 450. Each letter took one page to print, due to the large font size.
5. Trim off the excess paper around your letters. Don't cut off too much - it will be too hard to work with. Just cut off enough paper so that you'll be able to get a good idea of letter spacing on your board.
6. Turn the letters over and with a pencil, trace the backside of each letter. Make sure you trace rather darkly. (Unless you are making a sign with a dark background color or stain... then you would use a white pencil to trace.)
7. Carefully line up all of your letters (facing right-side-up) on your board to figure out the right spacing.
8. Firmly, pressing down, use your pencil to trace the letters. (You will be tracing on the opposite side as you did last time - this time letters are facing up.) By tracing, the pencil you traced on the backside will transfer to your board. (Remember doing this in school??)
9. If you have one, use a Sharpie paint pen to trace over the pencil-drawn letters on your sign. Or, you could use a small paint brush and paint. (I used a Sharpie paint pen and it made this step super easy and fast!)
10. Fill in your letters with paint. I used black chalkboard paint because it's what I had on-hand. I liked the sort of "off-black" color it provided.
11. After the paint dries, sand all letters so that some of the color underneath shows through. This will help achieve an aged appearance.
12. Install picture hangers on the back of board, hang and enjoy!
It almost feels like the sign has always been there!