
I've had the privilege of teaching our boys' art docent classes at school the last several years. I often teach with my sister. (Two of our kids are in classes with their cousins. :)
Today's art class was for my youngest son's Kindergarten class. Since November is just days away, I decided on a teepee art project that would start us thinking about Thanksgiving. The actual art is further down in this post... but first, I couldn't resist making these ice cream cone cupcake teepees as a treat for the students!

If you have any little ones in your life, these treats
could be a fun afternoon art project themselves!
Here's what you need:
Sugar or waffle ice cream cones
1 Box cupcake mix (and ingredients found on box for cupcakes)
Pretzel sticks
Chocolate frosting
Sprinkles
Small tubes of colored icing
1 Disposable roasting pan (optional)
Here's where the roasting pan comes in helpful... Turn the roasting pan upside down, take a sharp knife, stab it through the tin roasting pan (how do I say that nicely? :), twist the knife, and push back the tin until you have a nice sized hole in which to hold your cone upright.
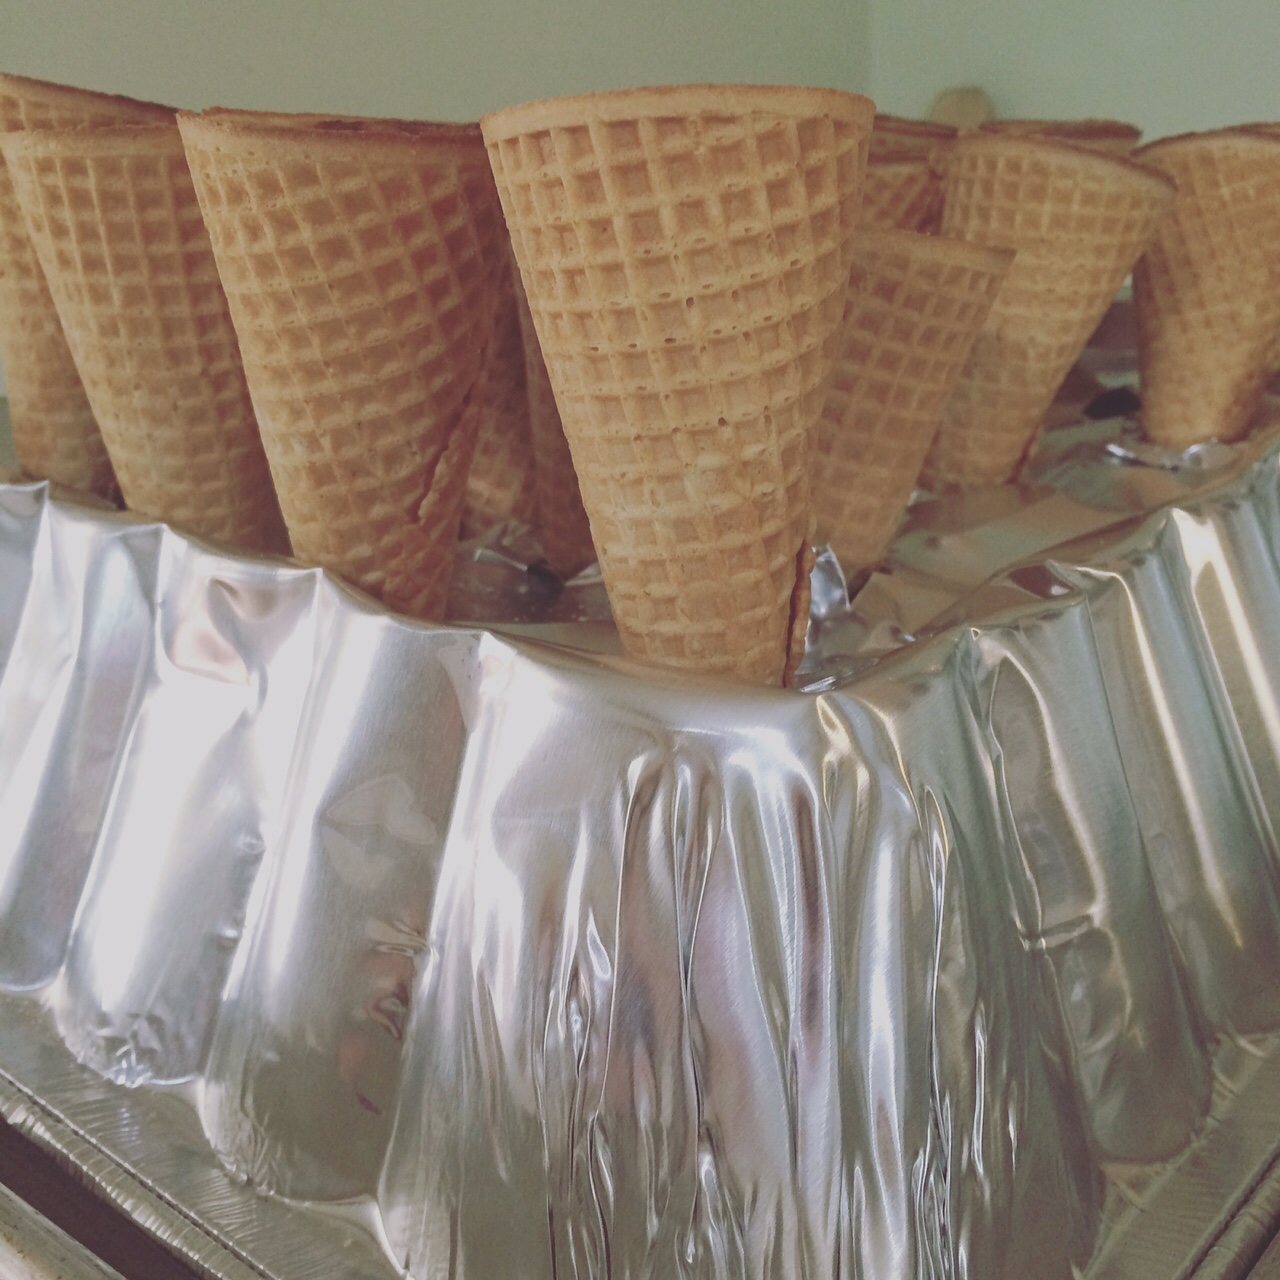
Prepare the cupcake mix according to directions. Then, spoon the batter into the cones, stopping about one inch from the top. Bake according to box directions for about 12 - 15 minutes, or until the cupcake springs back when you tap it.
While still warm, cut off the tip of the cone (cutting while still warm helps prevent the whole cone from cracking when cut).
Once cooled, generously dab frosting on the narrow (cut off) tip of the cone. Insert 2 - 3 pretzel sticks into the frosting to serve as the teepee poles. (You may need to break your pretzel sticks into smaller pieces).

Next, spread frosting over the cupcake portion - the wide end of cone or base of teepee. Dip the frosted, wide end of cone into a bowl with sprinkles. Then, create a triangular door using a knife to spread the frosting, or you could pipe the frosting - whichever is easiest for you.
Last, use your small tubes of colorful icing to add some designs to your teepee - think zigzag lines, image of the sun, etc. And that's it!
Here was our little display at school (before the students dove in!)...

And here are a few samples of their art work...

I have to agree with Picasso, "EVERY child is an artist!"
Hope you have a wonderful day!
Xo
Sharing with:

What a fun project. I should make these for the grandkids. Our kids are not allowed to have "treats" brought into school anymore. It is just sad-but there are so many kids that are allergic or can't have sugar or parents don't WANT them to have any sugar. That was one of the highlights of our kids' school years---school parties. You outdid yourself on this one! xo Diana
ReplyDeleteThank you Diana! You know, I did just read an article about sugar and our health. I just told my kids we are going to be cutting back on sugar (and here comes Halloween!)... but, these types of little celebrations are fun and special for them.
DeleteSo cute! I agree that every child is an artist. They love to create things and usually have such vivid imaginations.
ReplyDeleteThey do! And they usually aren't so inhibited by the fear of failure like we adults are at times.
DeleteOne more of your fun Mom projects! There are plenty of ideas around, but I so admire the Moms like you who get it done! Big smile here. We are spending a couple of days with our energetic young ones. They would love this!
ReplyDeleteOh have fun! I bet they have a great time with you. :) Let me know if you try out the teepees...you could make a day out of it - get out your blankets and let them build indoor teepees. :)
DeleteWhat a blessing to have cousins in the same class!
ReplyDelete*Smiles*
It really is! Hope you are doing well... any snow yet?!
DeleteThis is so cute, I love it. Would be fun for kids to help. Blessings, xoxo,Susie
ReplyDelete