
I have wanted to make a sign for a L-O-N-G time. I've tried, but was never happy with the end result. I'm critical of my own work - especially anything free-hand!

I would read tutorials, but they often wouldn't make sense to me... or sometimes I'd stop reading when they mentioned a special gadget or tool we didn't own.
(Our new "vintage" sign!)
I would read tutorials, but they often wouldn't make sense to me... or sometimes I'd stop reading when they mentioned a special gadget or tool we didn't own.
After watching the latest episode of Fixer Upper, I was more determined than ever to make a sign for our kitchen! On this particular show, they featured a rustic "Farmhouse" sign above the kitchen window.

Image source: HGTV
I'm also in love with the old "Super Market" sign in the kitchen at the Gaines' home.
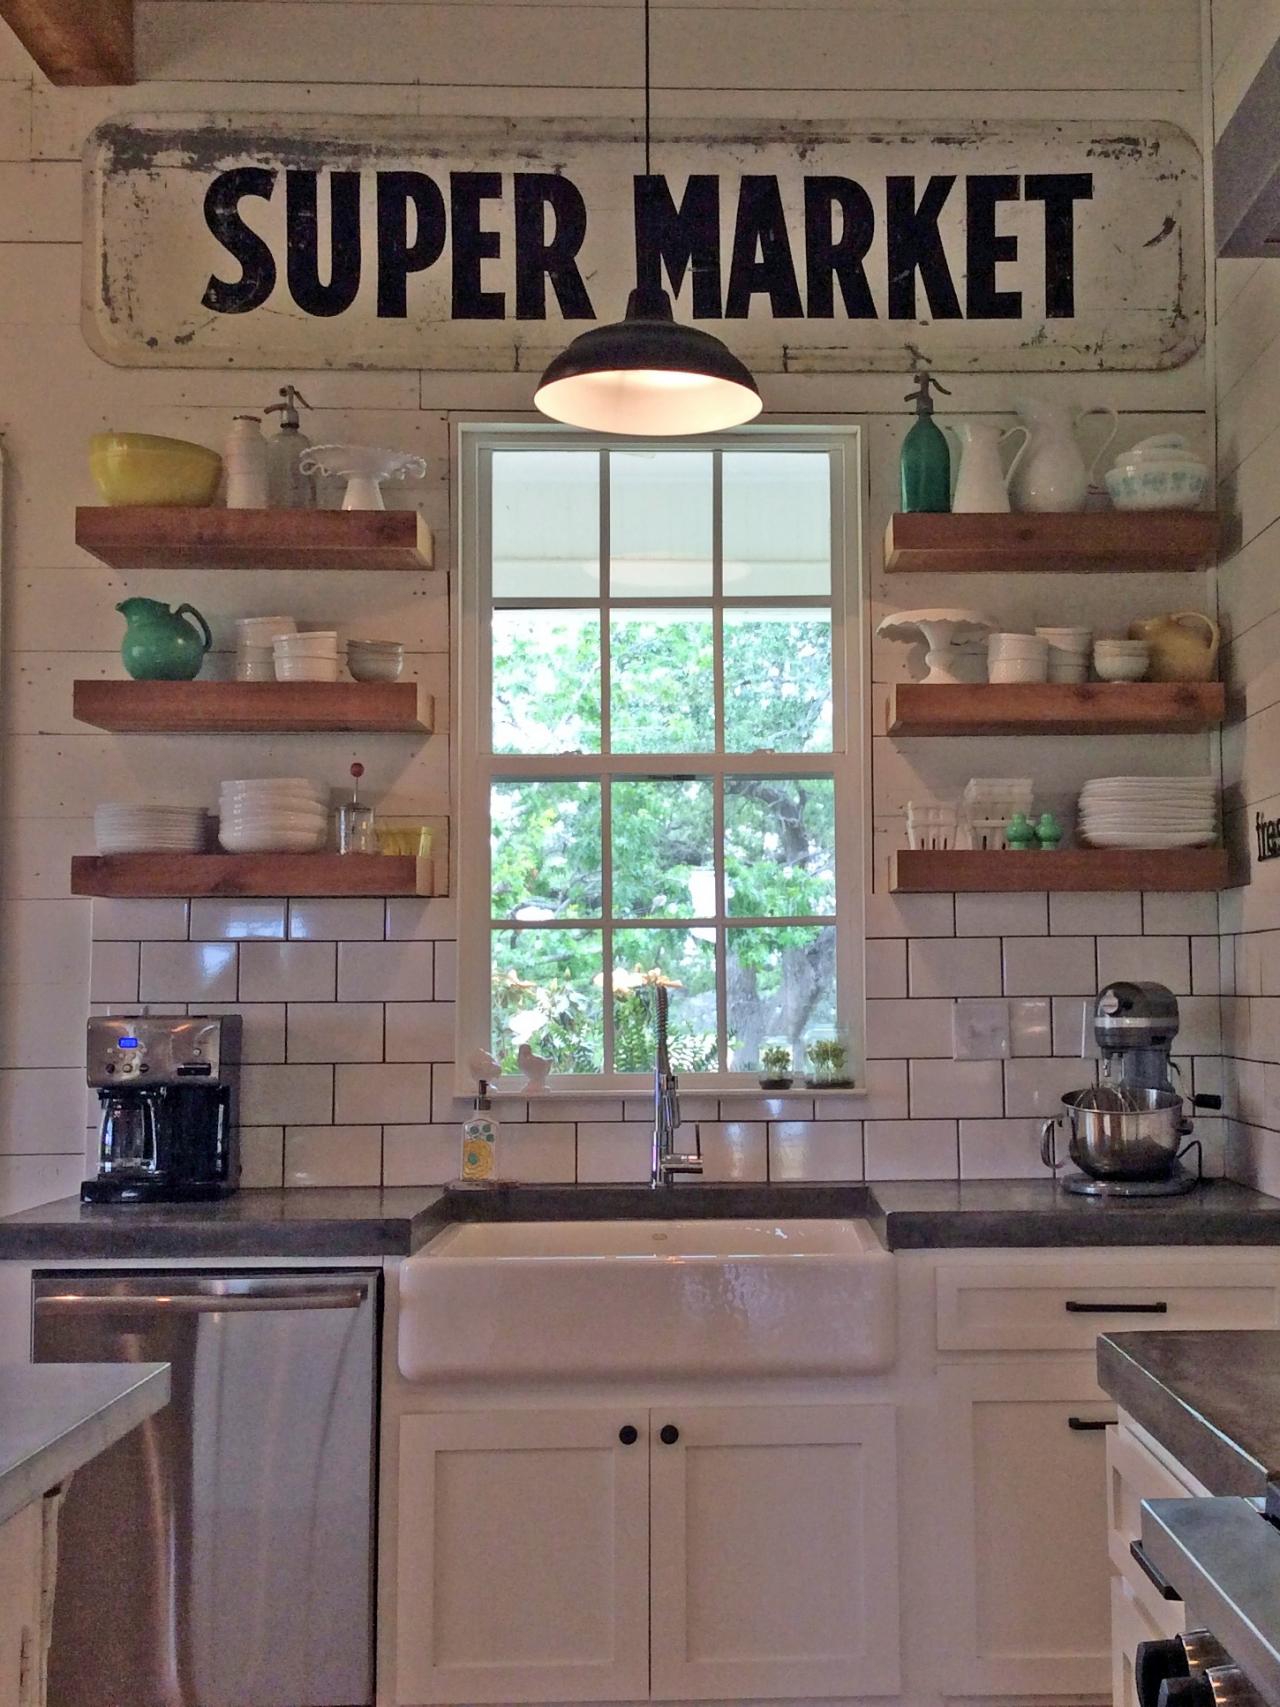
Image source HGTV
You too? Let's get started making a sign!
Let me start by saying that this would be a great project to give yourself a weekend to finish. That way, you can break it down into steps, allow for dry-time, and take some pressure off yourself!
There are many steps, but I promise you it is not hard...
1. Decide on what you want your sign to say. I loved the "Super Market" sign above, but wanted to add my own little twist. I saw a picture online of an old sign that read, "Au Petit Marche" in French and means, "Little Market." Perfect for the kitchen! Done.

2. You'll need to determine what size board to use. I used a thin (~1/2" thick) 1x6 (that's one foot by six feet :) board from Home Depot. It was actually a few inches less than six feet - they gave it to us for free when we purchased a 1x1x6. (The nice thing about using the 1/2" thick board, as opposed to the 1" thick board, is that it is lighter and easier to hang.)
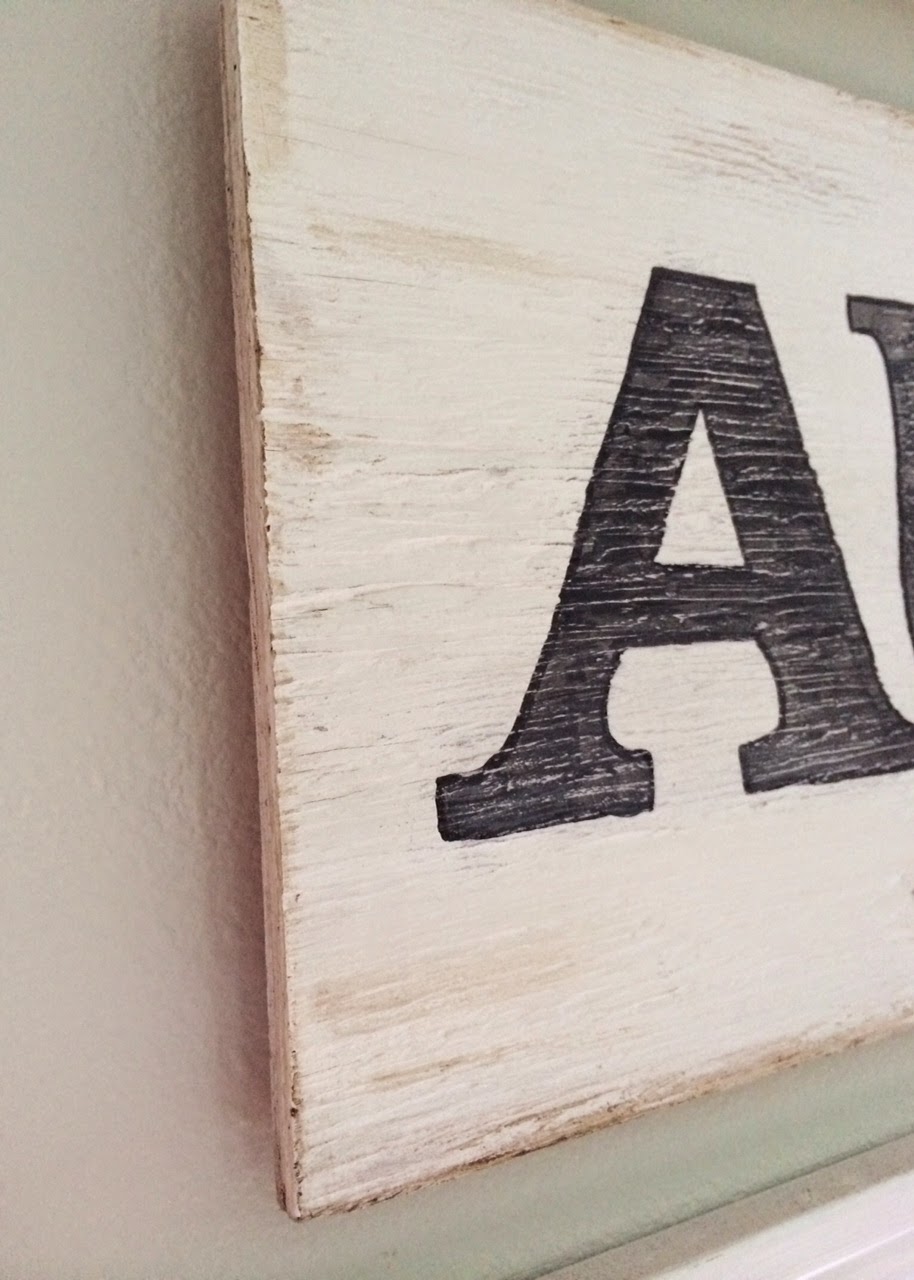
3. Prepare your board by painting or staining it the color of your choice. I painted ours white and then "aged" it, using Annie Sloan dark wax around the edges. The picture below shows how the dark wax helps give the sign a feeling of age...
4. Determine the font you'd like to use and print it out on regular computer paper. Don't use a heavy paper like card stock - you'll need to see through the paper to trace! For my sign, I wanted it to look like a vintage french sign, so I chose "Iowan Old Style Black" in MS Word. I used font size 450. Each letter took one page to print, due to the large font size.
5. Trim off the excess paper around your letters. Don't cut off too much - it will be too hard to work with. Just cut off enough paper so that you'll be able to get a good idea of letter spacing on your board.
6. Turn the letters over and with a pencil, trace the backside of each letter. Make sure you trace rather darkly. (Unless you are making a sign with a dark background color or stain... then you would use a white pencil to trace.)

7. Carefully line up all of your letters (facing right-side-up) on your board to figure out the right spacing.

8. Firmly, pressing down, use your pencil to trace the letters. (You will be tracing on the opposite side as you did last time - this time letters are facing up.) By tracing, the pencil you traced on the backside will transfer to your board. (Remember doing this in school??)

9. If you have one, use a Sharpie paint pen to trace over the pencil-drawn letters on your sign. Or, you could use a small paint brush and paint. (I used a Sharpie paint pen and it made this step super easy and fast!)

10. Fill in your letters with paint. I used black chalkboard paint because it's what I had on-hand. I liked the sort of "off-black" color it provided.

11. After the paint dries, sand all letters so that some of the color underneath shows through. This will help achieve an aged appearance.
12. Install picture hangers on the back of board, hang and enjoy!


It almost feels like the sign has always been there!
Have you made a sign before or do you plan on making one for your home? What word(s) did you choose? I'd love to hear!!
xo
Sharing with:
Cozy Little House
French Country Cottage
Stone Gable
Coastal Charm
Ivy and Elephants
Savvy Southern Style
From My Front Porch To Yours
Have A Daily Cup Of Mrs. Olson
The Charm of Home
Thoughts From Alice
xo
Sharing with:
Cozy Little House
French Country Cottage
Stone Gable
Coastal Charm
Ivy and Elephants
Savvy Southern Style
From My Front Porch To Yours
Have A Daily Cup Of Mrs. Olson
The Charm of Home
Thoughts From Alice

Very cute and homey--thanks for the tutorial!
ReplyDeleteThanks so much!
DeleteI love your homemade sign! You did a fantastic job and I appreciate the tutorial. I've never made my own sign before and have always wondered how it's done. Yours fits perfectly in your space and I love the words you chose.
ReplyDeleteThanks Kelly - I hope you'll make a sign for your home too... I know you'd nail it! :)
DeleteOh yes, I have made tons of signs, yet non as large as this.
ReplyDeleteI am so wanting to make one large like this one and the many I have seen all over blog land and HGTV.
I have used so many words, and phrases and in my esty I have a rustic Goat sign very French farm house I am just looking and waiting for the right old piece of wood to drop into my hands and then the right words.
Yours is a fabulous addition to your Framsted.
I made the large LOVE sign for Fifi O'Neills new book Prairie-style Weddings out of old barn woods and old wood pieces to create the word love all being typography. My solds in my etsy will show the many signs, and going back in all my older postings show the many other pieces, I love creating signs. Yet my mood goes back and forth to rustic French or true primitive farmhouse .
I do have one of my square Goat Cheese signs in my kitchen and ones who visit love it.... Maybe I will do a large French goat sign :)
Thank you for your beautiful visit, and best your wonderful comment that joys my heart.
Your sign is amazing... Also on signs this big I drill a hole with a steal 3 to 4 inch screw right through the sign into the studs of the wall...this way I can get up there wipe it down and never worry about it coming down until I unscrew it. I did this very thing to a mantel shelf piece for my daughters room, screwing the piece right into the studs, I fever have to worry about it being bumped off the wall.
And those heavy duty swivel eye hooks work fab on heavy piece like these.
YOU have inspired me to get working on a very large sign for my kitchen... Just have to what I want the message to be :))
See you soon dear, keep inspiring your beauty in all its rustic French country charm.
Xx
Dore
Thank you Dore. Yes, I've seen your Goat Cheese sign and LOVE it. Can't wait to see what your large kitchen sign will say...
DeleteYour sign is wonderful, Julie. It makes a great focal point for your kitchen and I love the wording you chose. I have made a couple signs using a similar method. Thanks for the tutorial - it's very clear and easy to understand.
ReplyDeleteSo sweet of you to provide feedback JoAnne. Thank you!
DeleteIt's gorgeous! You did a great job so pat yourself on the back! I haven't made one. I'm not very good at that stuff and if I truly want one, guess I can get Judy the artist to make it when life calms down for her. But I really want to try this myself just to see if I can do it.
ReplyDeleteBrenda
Thank you SO much! I have no doubt you could make an amazing sign.
DeleteI had no idea that creating a sign like this could be so easy! Thanks for the detailed instructions with photos. I'm sure I could do this...just trying to decide what my sign would say. All I can think of is my current mantra: "Create A Home That Hugs You".
ReplyDeleteSo sweet... I hope you do!!
DeleteThis is such a wonderful and very helpful post. I have the same three windows over my sink and had always had too small of a sign above them. Your large one is fantastic and exactly what my windows need. I am definitely going to make a sign now that I see how simple it is to achieve fabulous results! I have gotten so many wonderful ideas from your blog which are helping me slowly turn my home into what I always envisioned it could be. Thank you so very, very much for sharing your creativity and home with us.
ReplyDeleteThank you, thank you, thank you. What an honor that you would say that. I'm so glad that your home is becoming all that you knew it could be! Blessings...
DeleteYour sign turned out marvelously! It really adds alot of charm to your kitchen and it's so nice to be able to say you made it. Jane
ReplyDeleteThank you Jane. Yes, I hadn't thought of that yet but it is nice to say I made it - especially since it was one of those projects I wondered if I could ever pull off. Now, it seems so easy - ha! I appreciate you stopping by!
DeleteLove the sign you made...it looks great over your kitchen window!
ReplyDelete~Cindy
Thank you Cynthia! I appreciate that! :)
DeleteI've just discovered your lovely blog, Julie! I love sign making, too,,,such a fun and inexpensive way to create personal art for your home! You did a beautiful job with your sign and it looks perfect where you hung it! Following on Bloglovin' and can't wait to read more!
ReplyDeleteI so appreciate that Linda and am so glad you're here! Would love to here what signs you've made. Blessings, ~julie
DeleteYour sign looks great and old too. I too keep thinking I'll make a sign, but keep putting it off. Your instructions make it look so do-able.
ReplyDeleteYour sign turned out super cute! I always cut a stencil to make a sign, but think I will try this method. I've pinned a few and want to make a couple of new ones. The last one I made said Olson Cottage. Thanks for sharing your great tutorial with SYC.
ReplyDeletehugs,
Jann
I love you sign! Thanks for linking up with Home Sweet Home!
ReplyDeleteBravo!
ReplyDeleteLet me start by saying that this would be a great project to give yourself a weekend to finish. That way, you can break it down into steps, allow for dry-time, and take some pressure off yourself!
ReplyDeletePrintable wine label templates
Merry Christmas SVG
Cricut New Year sayings
Cutting machine Thanksgiving quotes