Showing posts with label Burlap. Show all posts

Tuesday, March 27, 2018

Burlap Carrots DIY {Spring Farmhouse Mantel Decor}


Hi Friends ~ Have you ever been out shopping and you see something and think... 
That doesn't look too complicated. I bet I could make that...? 

Me too. In fact, that's what happened when I was out shopping last week with my mom and sister. We spotted some cute (factory-made) burlap carrots. I loved all the texture and the neutral, unexpected take on carrots.

A few days later, I played a little game of memory with myself. Where did I see those leftover styrofoam cones? Garage, in a half-unpacked art bag. Burlap sack? Laundry room cupboard. Glue gun? Dining room drawer. The only thing I needed to buy was the raffia. So the price was right for this mini DIY. ;) 

Tuesday, February 9, 2016

Creating a Cozy Corner...

 If you've visited before, you may recognize this corner of our family room. 
It's one of the most comfortable in the house, and an area that is well-used 
(especially by our three growing boys!).


Tuesday, September 1, 2015

Tuesday Tip ($3 Fall Pillows)

Happy September!

If you're looking for a little touch of fall on a small budget, head to Target where I found these petit (only 10") fall pillows for $3 each. (Ticking pillow not included.)


A white pumpkin on canvas...


Gold polkadots on canvas and burlap with a button...


Check the $3 bins at a Target near you!

Xo

Sharing with:
Savvy Southern Style
Share Your Style
From My Front Porch To Yours


Thursday, July 30, 2015

How to Bring Farmhouse Style Outdoors {10 Ways}

Comfortable. Casual. Welcoming. Rustic. 

These are some feelings that come to mind when I think of farmhouse style outdoors... Where a hurried life seems to slow down and the quiet beauty of nature is all around.

A place for family and friends to gather.

Whether you have an actual farmhouse with acreage, a suburban home in a neighborhood, or an apartment with a small entryway and balcony, there are ways to incorporate farmhouse style right where you live.

1. {Wood crates} A vintage bulb crate next to our front door serves as a rustic shelf for a pitcher of flowers. Fresh cut flowers are a quick & easy way to freshen up a porch.


Wood crates are also good catch-alls for toys and balls.


2. {Ticking fabric, grain sack and burlap} for cushions and pillows add that classic farmhouse feel. 


3. {Old tin buckets} as planters for a simple "just grabbed these out of the barn" ambience. ;)


A repurposed chicken waterer is right at home on the front porch. I found this one at a yard sale for just a few dollars  (I loved the rust for decorating, though it wouldn't work well for chickens ;). You can also find them at antique stores. New, you can expect to pay $20 - $25 for this size (2 gallon). 


4. {Chippy, weathered furniture} brings a comfortable feel to a covered porch. Use an old dresser for a plant stand, gardening tool storage, or simply a focal point.


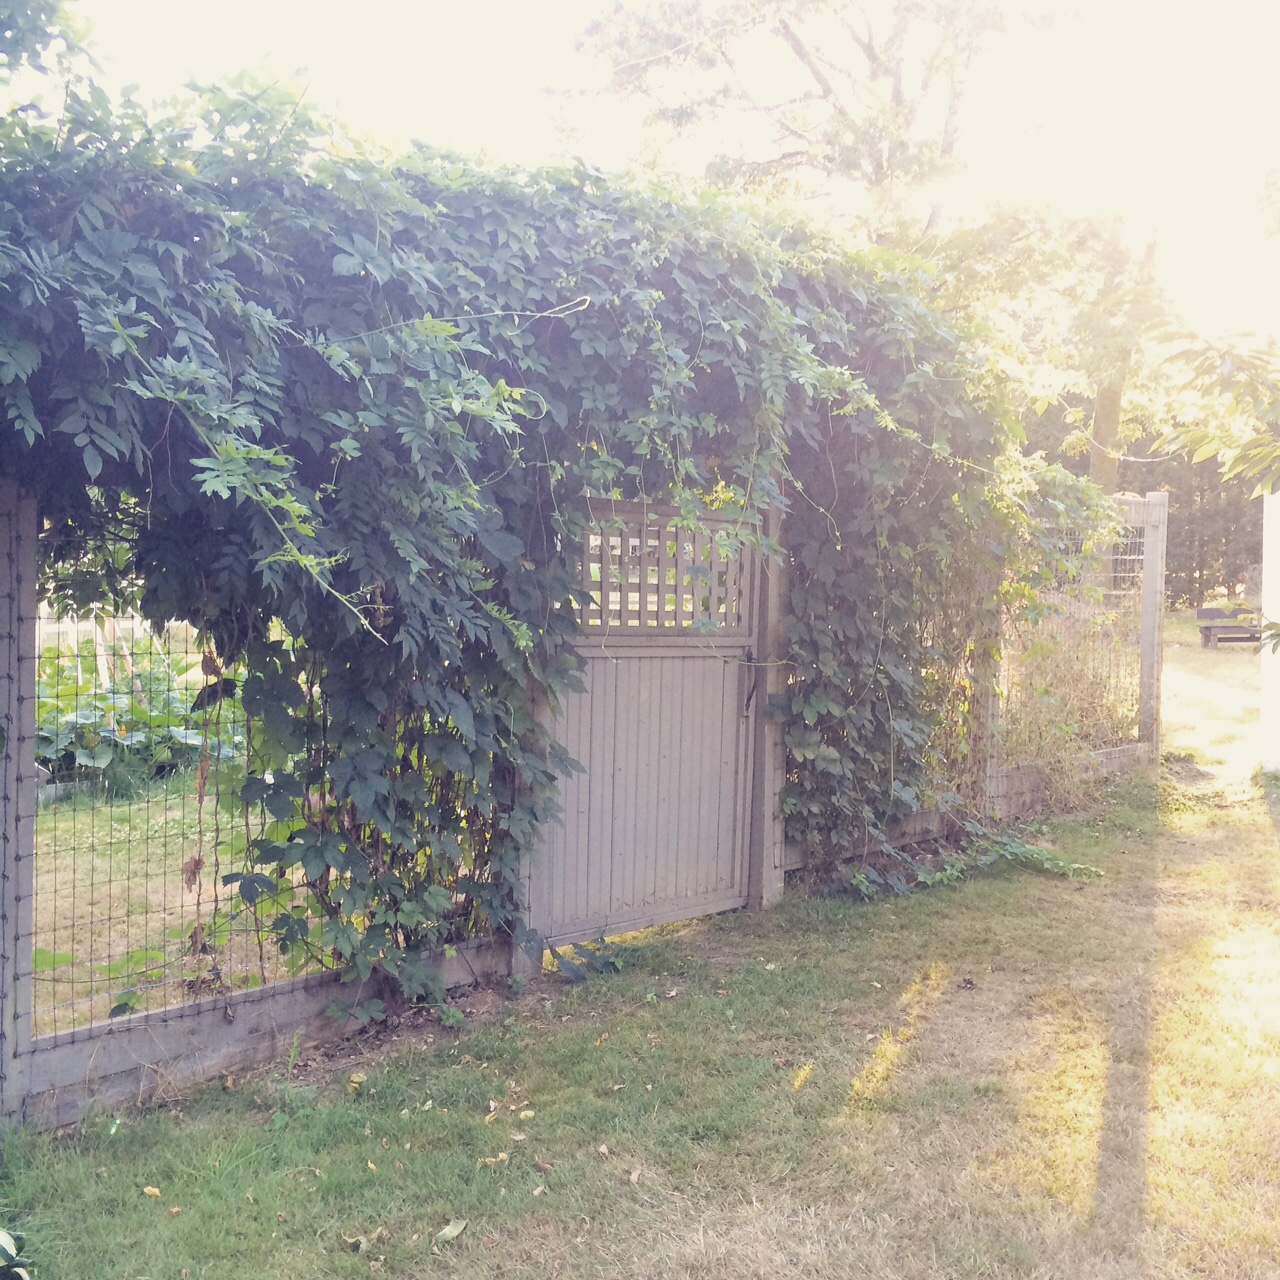
5. {Vines} I'm so grateful to our home's previous owners for planting beautiful vines around the property. Here they are, growing up the side of our laundry/mud room.


And along a fence, vines, grapes and hops add old fashioned texture and greenery.


6. {Gates} are functional, but can also add farmhouse appeal. 


For an easy way to incorporate a gate or two, prop them up on a porch or entryway. The picture below is from our fall porch last year. I used an old gate and section of fencing on the porch to add more of that "pumpkin patch" feel. ;) I found the gate and fence at a yard sale, but similar pieces can be purchased at Lowe's or Home Depot. 


7. {Arbors} add architectural interest year-round. They can support beautiful vines and wisteria during the growing months. In winter, string lights up on arbors for a "happy" dose of light, when darkness comes early. 

This arbor, set off of our gravel driveway, marks the entrance to our front yard.


8. {Outdoor seating} invites you to slow down and take in the scenery. I recently moved this bench out near the chicken yard so that we could sit and watch the chickens (may sound weird, but it's peaceful :). Is there a special place on your property - maybe in the garden - where a bench might encourage you to enjoy the view awhile longer?


9. {Outbuildings} like a chicken coop or garden shed open up lots of possibilities, as well as provide you with another charming backdrop. 


10. {Farm fresh fruit, vegetables and flowers} evoke simple country living perhaps more than anything. If you don't have space to plant fruit trees or build raised garden beds, consider a container garden where strawberries, tomatoes and herbs can be tended and enjoyed.


Find ideas on decorating with farmhouse style inside here!


And now I'm wondering, where is your favorite spot at home to enjoy some time outdoors? Or, is there a view you most love, looking out your window? I'd love to hear!

So glad you stopped by...

Xo

Sharing with:
French Country Cottage
From My Front Porch

Share Your Style
Savvy Southern Style
Cozy Little House


Wednesday, June 17, 2015

~ Farmhouse Fabric Strip Flag DIY ~


This DIY shabby flag is a fun project that you can make in about an hour, most likely with materials you already have on-hand. 

My sister and I made these flags for our homes the other night, as we sat on my front porch. Meanwhile, the cousins ran crazy, water balloon-ing each other. We stopped our flag making about every 4.5 seconds to tie a water balloon... So, this project is one you can complete without a tremendous amount of focus! ;)


Here's what you need:

  • Fabric for strips (24 inches long), for square (8x9 inches) and for stars
  • A branch or twig approximately 19" long
  • Twine or ribbon
  • Scissors
  • Hot glue gun


I chose to make a neutral, rustic flag so I used white muslin, burlap, lace and drop cloth remnants for the flag stripes. I used a light denim fabric (actually an old denim shirt :) for the background behind the stars. For the stars, I used coffee-stained muslin - but you could use anything! 


Step 1: Cut strips for flag. I cut them 24 inches long, 1 1/2 to 2 inches wide (I like the look of slightly different widths so it's not too uniform).


Step 2: Cut out your square for the stars background. I used an 8x9 inch piece of light blue denim.


Step 3: Cut out the stars. I printed and cut out this star template, using 35% size. Instead of having to trace each star, just hold the star template securely in place and cut around the edges (see above). I used nine stars on my flag.


Step 4: Hot glue the strips just slightly over the top of the branch, alternating dark and light colors.

Step 5: Hot glue the square piece of fabric on the top left corner, applying glue just along the top of the fabric strips/branch.


Step 6: Hot glue your stars onto the square piece of fabric.


Step 7: Using a 24-inch piece of ribbon or twine, make a knot around one edge of the branch and another knot around the other edge of the branch. This will be your flag hanger.

Enjoy!

Xo

Sharing with:


Monday, April 20, 2015

What I Love About Farmhouse Style...


There are many reasons I adore farmhouse style (you too?!). 
Here are a few reasons why...

It's fun to repurpose aged items in unexpected ways. Here, we used an old galvanized chicken waterer as a vase. For easy ways to dry your hydrangeas, click here.


Sunday, March 22, 2015

An Indoor Garden Party & Spring Table Setting

This past week, we celebrated my (amazing!) Mom's birthday at both my sister's and our home. It was a milestone birthday (though she requested I not share the exact mile ;), so we tried to make it special.

My Mom's sister (my Aunt) surprised her by coming from Florida...which made for a very "happy-tears" kind of reunion. Our kids and their cousins had a couple of days off of school so they were able to celebrate with us!


The day we hosted lunch at our house was the first official day of spring. These little nest favors and vintage-inspired mini cake stands were at the adults' place settings. 


Although the weather was only partly cooperating, I hoped the dining room lunch would feel like a garden party. I found the vintage-inspired floral paper runner at Michaels. It, along with the hanging paper flowers, were part of their "Paris in Springtime" line of party products.


A little easel at the birthday girl's place...


Our Mom is the wind (and sometimes the tornado - she's got a lot of energy! :) beneath our family's wings! It was a special time to celebrate all that she means to us...


Thank you for sharing in this special memory with me.

Have a blessed day!

xo

Sharing with:
Coastal Charm
Karen's Up On The Hill
Cozy Little House
Worthing Court
Savvy Southern Style
From My Front Porch To Yours
Share Your Style

Thursday, February 5, 2015

A 5-Minute Makeover!


Here are a couple of quick tips for making over a chair and pillow in minutes

(No sewing required!) 

For the chair, I'm showing two options... one with burlap and one with a feed sack.

Here is the burlap "after" picture:


Monday, February 2, 2015

For the Love of Salvaged! {Vintage Mattress Spring Decorating}


It's the day after the Super Bowl. In Seattle.

I can't talk about it beyond saying two things:
1. We still love our Hawks.
2. And we'll be back.
{smile}

Back to home decorating...

If you've been here before, you may remember our $20 vintage mattress spring. It provides a rustic architectural detail to the wall and is a great place to add seasonal touches.

Here it is with a simple burlap Valentines banner...


At Christmas, I tied on a "Noel" marquee sign...


And for most of the year, it looks like this...


I love it when people clip photos and cards to a mattress spring and use it for a memo board. (Since ours is high on the wall, this wouldn't work as well here.)

Do you use any salvaged pieces in your home? Or are you on the hunt for any? 

I keep hoping I'll stumble upon an old - preferably abandoned and free - windmill. Ha! There's always hope...even when there's no budget, there's hope.

I'd love to hear about your favorite salvaged pieces!

Saturday, January 24, 2015

A Rustic Prairie Style Centerpiece

Hi Friends!

I decided to put our large, shabby white flower box to use again. It feels nice to have some fresh plants in the house this rainy, and often grey, time of year. 

I love the life, color and natural element plants add, especially when we can't spend as much time outdoors.


I like these cabbage plants because they are small and have a pretty pale pink color. They almost look like roses in full bloom. I planted them alongside some Baby's Tears plants and then added some Spanish moss and burlap around the edge of the planter. I finished by tucking in a few Dollar Tree candles.


Some ruffles and slightly wrinkled burlap for a prairie feel.


 And now I'm wondering what your plans are for the weekend? Staying in or going out? Tackling any home projects?

Our oldest two boys have basketball games today and then we're looking forward to having some friends over for dinner. I'm helping out in our 5-year-old's class at church on Sunday and then we'll need to break open the backpacks to see what homework awaits...

Thank you so much for visiting. Hope you have a wonderful weekend!


Related Posts Plugin for WordPress, Blogger...
adding pinterest script 3. Changing the Position of the Pin it! button The cool thing about this code is that you have some freedom over where the Pinterest button for Blogger will go over the image. Take a look at the code that you just copied and pasted into the HTML for the word 'center'.