Showing posts with label makeover. Show all posts

Wednesday, May 9, 2018

Tween Boy's Bedroom Makeover {Noah's Room}

Hi Friends ~ I hope your day is going well! I'm excited to be sharing our middle son Noah's bedroom makeover with you today. The tradition at our house, is that when our boys turn 12, they get a new, bigger (full size) bed and bedroom makeover. While I have a lot of weaknesses (old doors, chairs, pillows, etc.), bedding is not one of them. I tend to find something I really like, and may pay a little more for it, but I stick with it. Prior to this room update, Noah had had the same bedding for about seven years. It was time!

Tuesday, February 20, 2018

Farmhouse Style Home Office Makeover


It's official. I have completed one monthly home improvement task that I had written down in my 2018 planner: making over my home office area. Never mind that I had written it down as a "January" goal. ;)

Sources can be found at the end of the post.

Saturday, March 11, 2017

Sundays at Home #150

Welcome to Sundays at Home where inspiration, like this amazing china cabinet makeover, 
is never in short supply! Hats off to Mary at Orphans with Makeup for this creative masterpiece. 

And I'm sorry for staring. It's just so gorgeous...


Monday, November 7, 2016

Our Farmhouse Master Bedroom Makeover Update...

Okay. Our master bedroom update. Get ready...

See that armoire that used to be a very yellowy-shade of cream? Now it's white. 

It doesn't sound like a big change, but it really made a difference! This corner of the room is so much brighter.

Thursday, September 15, 2016

Farmhouse Bedroom Makeover {Bedside Stands}


Alright friends. Here's the part where I'm going to need you to hold me accountable...  (Don't make me bust out my old college cheer uniform!)

Remember when I posted about starting this room makeover and how the best approach when you feel overwhelmed is to take it one small step at a time? 

Well, I was feeling pretty confident when I had just completed painting our bed.

And truthfully, I feel somewhat good as I post today about our newly painted and accessorized bedside stands...

Saturday, September 10, 2016

Farmhouse Bedroom Makeover {The Bed}

You know those home projects you put off because there are just too many steps? 
You feel too overwhelmed to start?

So, that's been our bedroom. And it wasn't too bad to start with (which made procrastinating all that more easy). But, it wasn't great either and I knew I wanted to make some changes.

You know that old saying, "How do you eat an elephant? One bite at a time." Well, how do you makeover a room? One piece of furniture, one wall, one curtain rod at a time!

Monday, June 6, 2016

A Summer Goal and Inspiration Pieces...

It's the last week of school before summer. With Seattle temperatures in the 80s and 90s, it definitely feels like summertime!

I'm looking forward to slower mornings and enjoying lots of family time and adventures. Our big trip this year was back in February when we visited Spain and France (and New York City along the way!). So, while we won't be going too far this summer, we do hope for lots of day trips and maybe a few overnighters. 

When it comes to home projects, I hope to get a few done this summer. 

First on the list is re-doing our oldest son Hudson's bedroom. He is 12 years old and could use a bigger bed and some updating in his room. 

There are two pieces I'm using as inspiration for the design of his room.


Friday, October 16, 2015

Our Farmhouse Bathroom Makeover (Before & After)

I've missed you! I think this was my longest blogging break to date, and it wasn't by choice. I've been having major computer problems. No fun! I'm glad to be back today and am excited to share pictures from our recent bathroom makeover.


Thursday, October 8, 2015

My Sister's Bedroom: Before and After (A Must See!)

OMGoodness! I'm in love with my sister's "new" room! She added a wood plank accent wall, painted the room and all of her furniture, added new sconces , hung a new curtain rod and new curtains.

Here it is now - the after:


Monday, May 11, 2015

A Farmhouse Kitchen ~ Painted Counters {Before & Afters}

Hello! I hope you're doing well.

After painting our dark green, formica-topped, built-in desk, I developed a bit of an addiction. I've since moved on to painting our dining room buffet and over the last couple of weeks, I've painted all of our kitchen countertops.

While I love the look of marble and also the warmth of butcher block, neither option was in our near-term budget. Since I really disliked the dark green formica, I didn't think of this project as very "risky"... just an affordable way to update, until we can do something more lasting.


Here's the before...


And the after...


One more before...


And after...


Different lighting helps to show the arbor with wisteria through the windows...


I used the same painting technique that I used here. So, although the paint is non-toxic, I won't be doing any food prep directly on my counters. I'm used to that, since I used cutting boards with the formica as well. 

At our last house, we had granite counters, and I do miss the ease. But, we're so grateful to be here and can easily work with what we have.


A stepstool for my youngest helper... 


I'm very happy with the change! Here's to hoping it holds up well...for awhile. ;)

Thank you for stopping by!

xo

Friday, March 13, 2015

A Desk / Work Area Makeover... Before & Afters

A week ago, this desk had a dark green formica countertop. I had wanted to change it since moving in over a year ago. But, some projects just take awhile to get to.  

Painting the desk was a small change but it made a big difference! 


It freshened up the room and made it feel more open. 


To see why this made such a difference, you need to see how the desk started...


Here's another before picture (dark and cluttered!)...


And after...


It was one of the first times I've used an oil-based paint. It was a type of paint specifically made for formica countertops (by Rustoleum, found at Home Depot). 

It took four coats. Hopefully, it will wear well! 

I found oil-based paint harder to work with than water-based because it had more of heavy, "sticky" consistency and the odor was really strong. You definitely want to wear a mask! I used a foam roller so lint wouldn't be left behind. I think that was helpful.

After the paint had dried, the fun part began. I brought in a plant...


And filled some of the jars with faux berries to go along with the Farm Shop sign...


Some fresh spring flowers...


I "shopped" our house for a lamp that fit the space better...


I now feel like I can breathe when I look at this corner of the room! :) It's nice, because this is where I do almost all of my work on the computer. 


Our middle son (9), who would like to see a lot more color in our house said, "I actually like the white. It looks clean." Ahhhhh, he said it! (And he does have color in his room, in case you were wondering!)

What have you painted that has made a big difference in the way an area in your home feels? A piece of furniture, fireplace, wall, room? Is there anything you're wanting to paint when you can find the time? 

xo

Sharing with:
French Country Cottage
Cozy Little House
Cedar Hill Farmhouse


Monday, February 16, 2015

One Room, Two Ways...

The other day I decided to try our family room a couple of different ways. I didn't buy anything new (except for the little bundle of white hydrangeas). I just "shopped" from other rooms in our house. 

I started by bringing in the old farmhouse door, that was in the laundry room, for an added architectural detail. 

For option one, I moved in a French-style armchair, grain sack pillow and ottoman. 


I also tried this blue patterned rug for a touch of color.


I kept the blue ticking pillows and burlap pillows, because I love their simple farmhouse cheer. :)


For the second look, I exchanged the blue patterned rug for a more textured, oatmeal-colored rug. In place of the French chair, I put an old white chippy bench in front of the window. 

So, here's look #2...


And here's look #1...


Which do you prefer?

It was fun to see this room in a different way. And, it felt good to change the look without spending money!

Don't be afraid to move things around, from room to room. You many find that certain pieces just fit better in unexpected places. A piece that may have just faded into the background in one room, can be the superstar in another! ;)

In the end, I chose function over form since this is the most used room in our home. Can you guess which look I kept?

Thank you for stopping by!

Hope you have a wonderful day...

xo


Sharing with:
Dwellings - The Heart of Your Home
Cozy Little House
Stone Gable
Coastal Charm
Savvy Southern Style
Katherine's Corner
French Country Cottage

Thursday, February 5, 2015

A 5-Minute Makeover!


Here are a couple of quick tips for making over a chair and pillow in minutes

(No sewing required!) 

For the chair, I'm showing two options... one with burlap and one with a feed sack.

Here is the burlap "after" picture:


Tuesday, January 6, 2015

~ A {Mini} Side Porch Makeover ~

As much as I "willed" visitors to walk up the stone path to our FRONT porch, it only took us a year of living here to realize that most guests come to our SIDE porch and proceed to the front door. (I think it's because people tend to park in front of the garage or barn at the end of our driveway, rather than in front of our house.)

Not a big deal. 

Except that I try to keep our front porch inviting. In contrast, our little side porch - the guests' route of choice - was overflowing with bins of toys and garden odds-n-ends that people had to step over. 

I wish I had taken a before picture... just picture lots of junk stuff!


Well, I tackled it. And it wasn't that hard.  The toys are now in the garage and the garden tools are in the shed. Makes sense. 


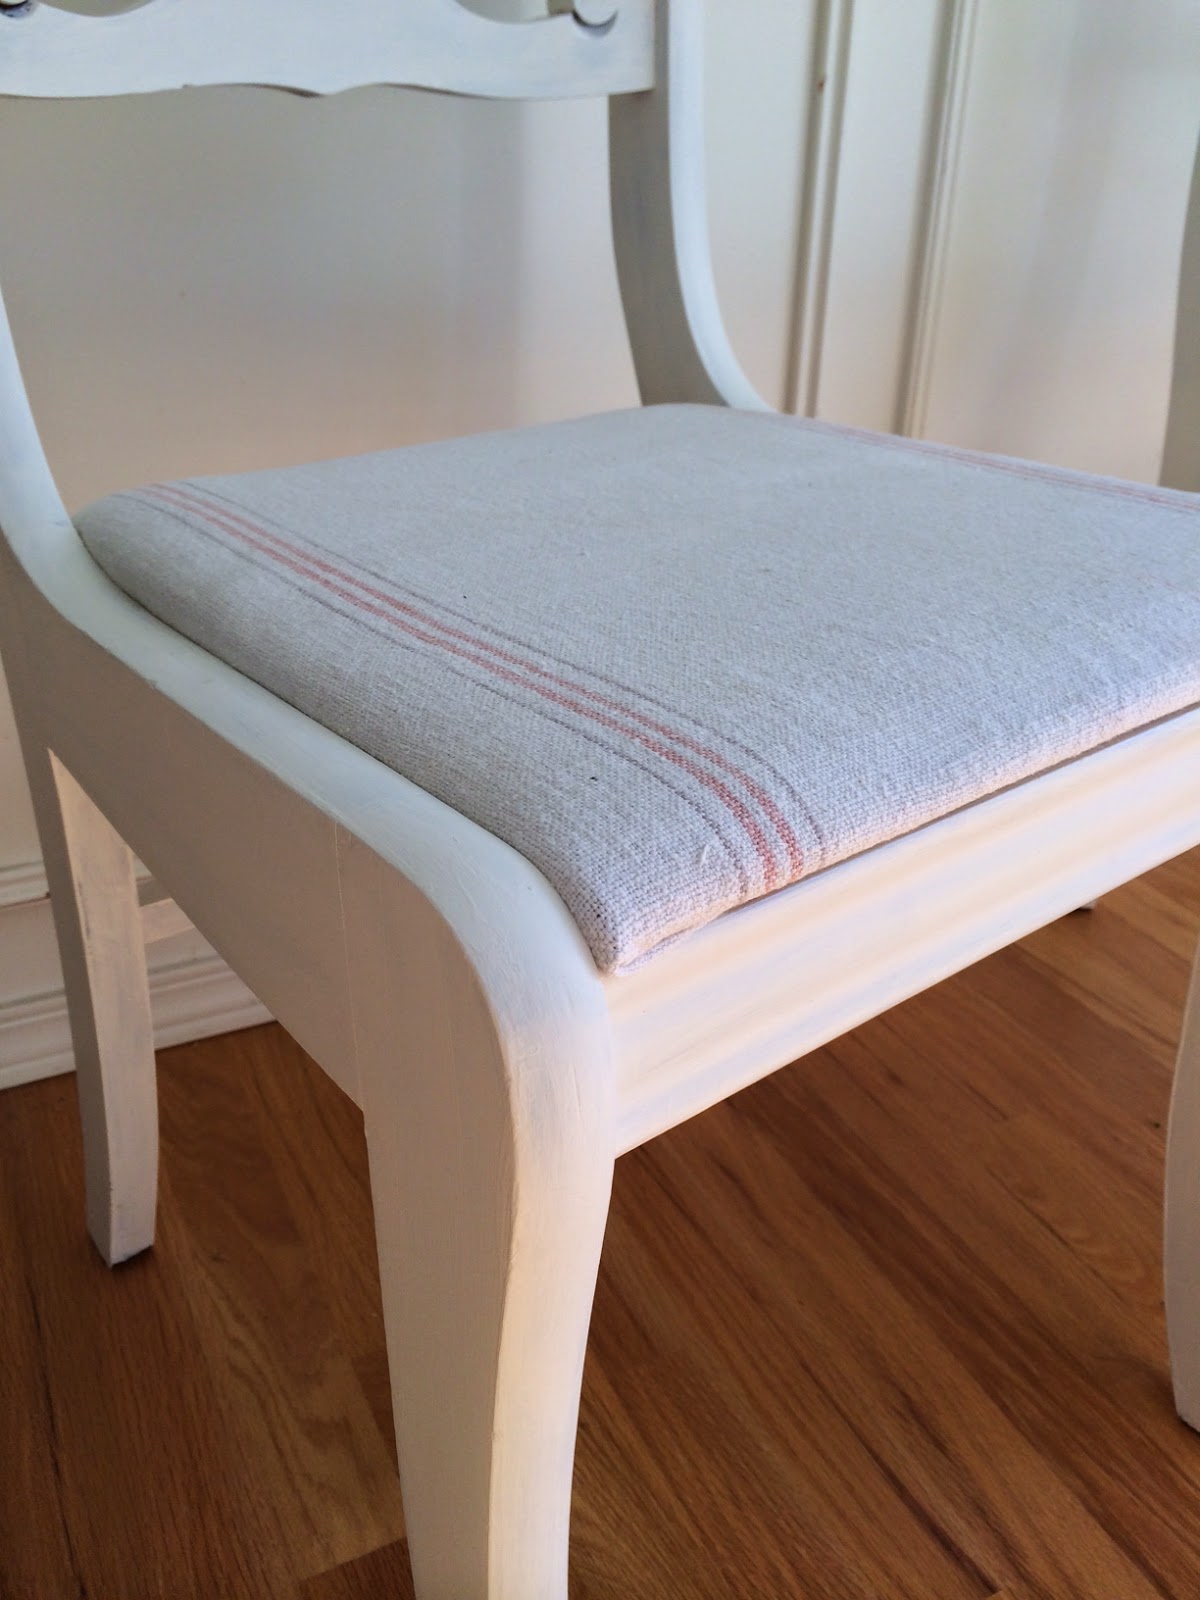
This chippy chair with burlap seat looks at home in its new space.


It's funny how we can pass by certain areas (eyesores?) and almost not see them anymore. (Or is that just me?) It took guests, and lots of them, before I thought about changing things.


So now if you stop by, please feel free to come to the front 
or side porch without shaming me!

xo

Sharing with:
Coastal Charm
Stone Gable

Friday, October 10, 2014

French Farmhouse Chairs {Grain sack}


 Hi there! I hope your day is going well. What are your plans for the weekend?

It has been such a full week for us that I am especially looking forward to this weekend… I bet you are too!


Just stopping in to show you a little project I've been working on.

I was given these two chairs… 
Cute, but I wasn't really feelin' the faux green leather seats… or the dark wood.


So, I painted the chairs white and used a grain sack to re-cover the seats.


This little pair will make great extra seating for the upcoming holidays!


I love the carved flower detail…


Have a wonderful weekend!

Also, did you see this post on the Farm Chicks Show? 
The Happiest Antiques Show on Earth

xo

I'm linking to:
The Shabby Nest
Chic On A Shoestring Decorating
Thoughts From Alice
Cozy Little House


Wednesday, September 10, 2014

A Farmhouse Chair Makeover!


I spotted it from across the shop. 
(The thrift shop.

Another lady was walking around it, thoughtfully considering. She sat down on it. She even put a pillow on it and stood back to look. I pretended not to notice. 

She walked away, and now I was the one circling it. Contemplating… It would need paint and a new chair pad cover. It was $12.99... and it was calling my name. 

I decided to paint the then brown vintage chair white and distress it a little. For the chair pad cover, I used a vintage feed sack that I'd purchased at an antique store in Spokane over the summer. 


(What's not to love about a feed sack with advertising about "The Corn The Farmer Likes?!") I used off-white trim to finish off the seat and hide the upholstery staples.


I had one more of these feed sacks to use for a pillow. And a willing Mother to sew it. (Thanks Mom!)


The Before


The After


Are you working on any projects or daydreaming of making over a piece? I'd love to hear.

Thanks for stopping by!
xo

ps - I'm linking to The Shabby Nest and A Handful of Everything!


Related Posts Plugin for WordPress, Blogger...
adding pinterest script 3. Changing the Position of the Pin it! button The cool thing about this code is that you have some freedom over where the Pinterest button for Blogger will go over the image. Take a look at the code that you just copied and pasted into the HTML for the word 'center'.